Kitty Hawk 1/48 F2H-2 Banshee Wing Tip Tanks…We’re Gluing Them on Wrong
- Michael E Rieth

- Sep 15, 2018
- 2 min read
Updated: Jul 2, 2025
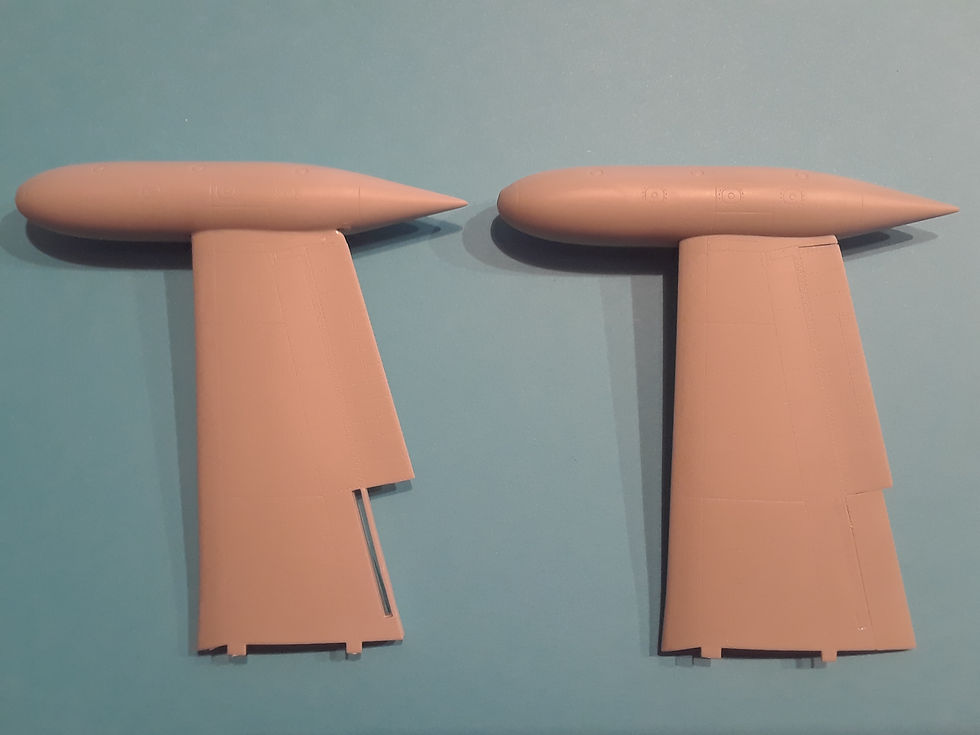
While doing additional research for the Resin Correction Set, I was looking at the wing to tip tank area and realized that I had glued the tanks on wrong. I had slipped the wing into the opening and glued it at the proper angle using a jig I had made.
The wing should not go into the tip tank, but should only go partly in. The problem was that the wing tip kept slipping into the tank.
Here is how to fix it.
Copy, size to Tip Tank circle diameter and print the drawing. Glue to card stock and cut out.

To keep the wing tip from slipping into the tank opening," put a ring on it", or actually put a ring in it.
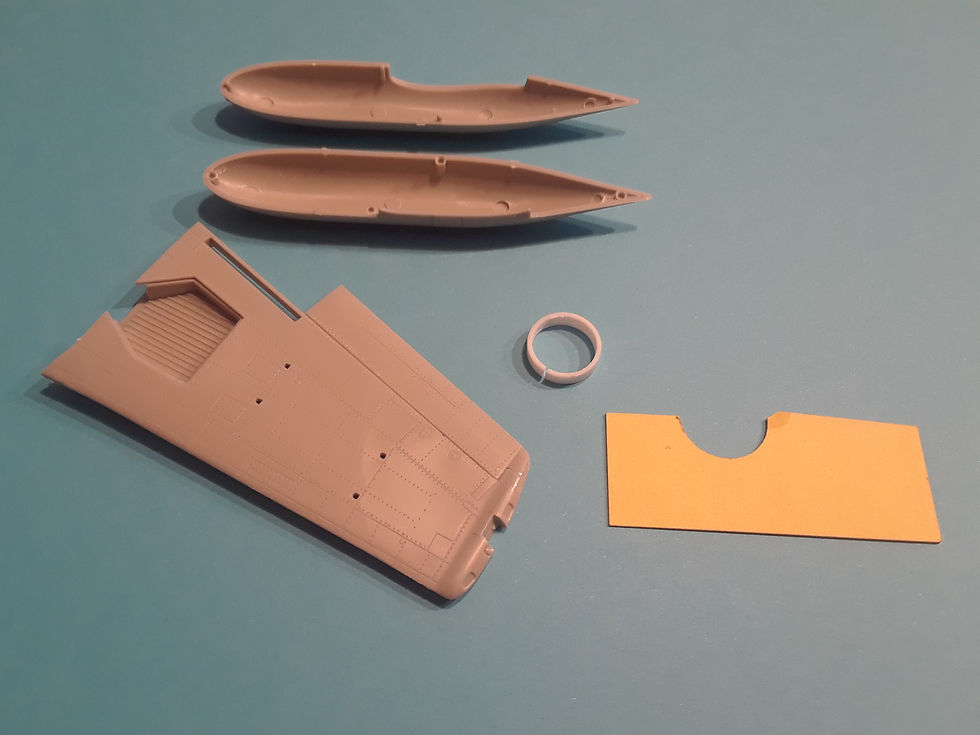
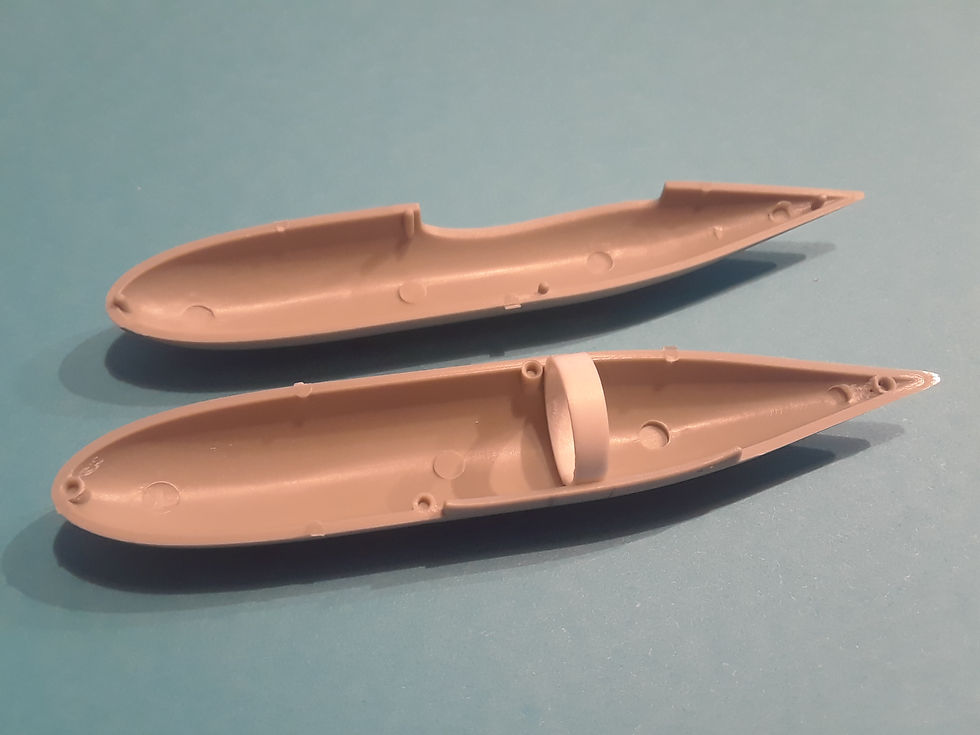
Cut a 1/8” length of ½” diameter Evergreen tubing, make a cut in the tubing and test fit the “ring” between the 2 tip tank pieces, continue to remove slivers until the 2 parts fit without a gap. Glue the “ring” about center to the wing opening next to the locator pin hole. Glue the tip tank pieces together.
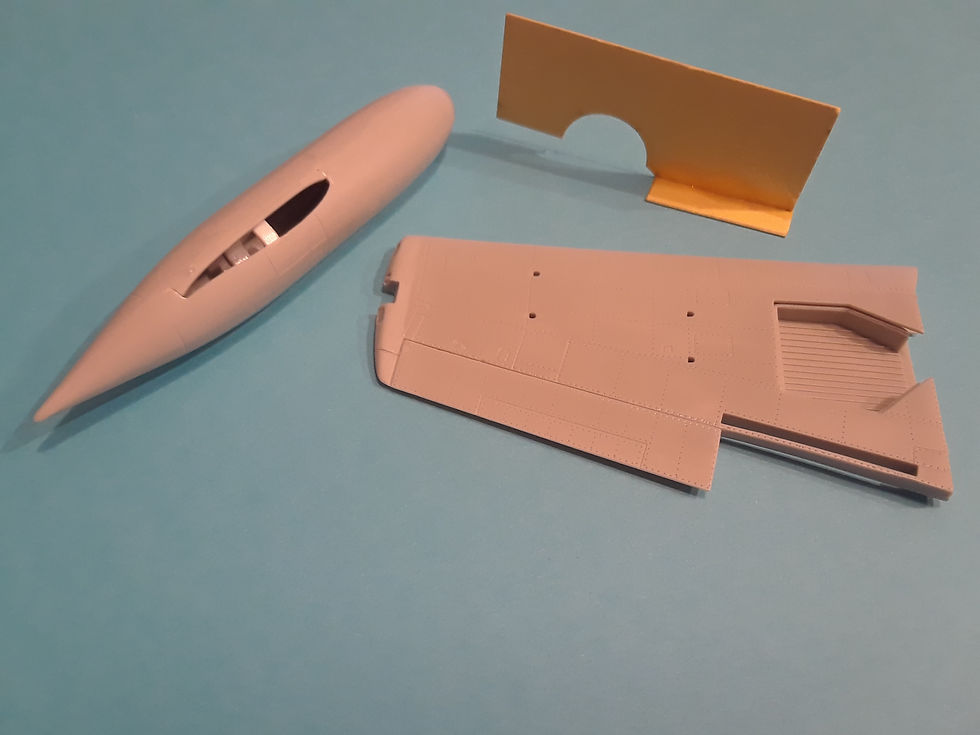
Next, cut the wing tip a little wider than the 1/8” ring. Test fit and continue to remove plastic until the tip tank is at the peak of the “hump” of the wing tip. Use a knife blade and scrape the lower lip of the tip tank opening on an angle to remove some of the outer edge and not the inner edge.
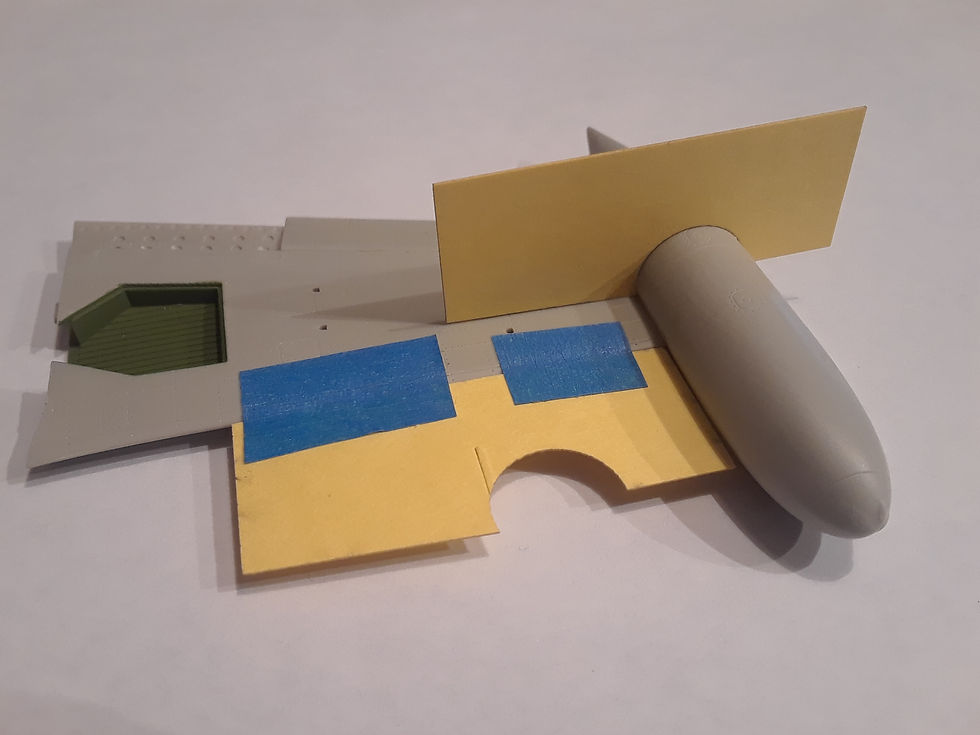
Use the panel line for reference and a square or jig to make sure tip tank is parallel to the aircraft’s line of flight when gluing it to wing. The rear of the wing should be away from the opening and not fill the gap. This is how it is on the actual Banshee.
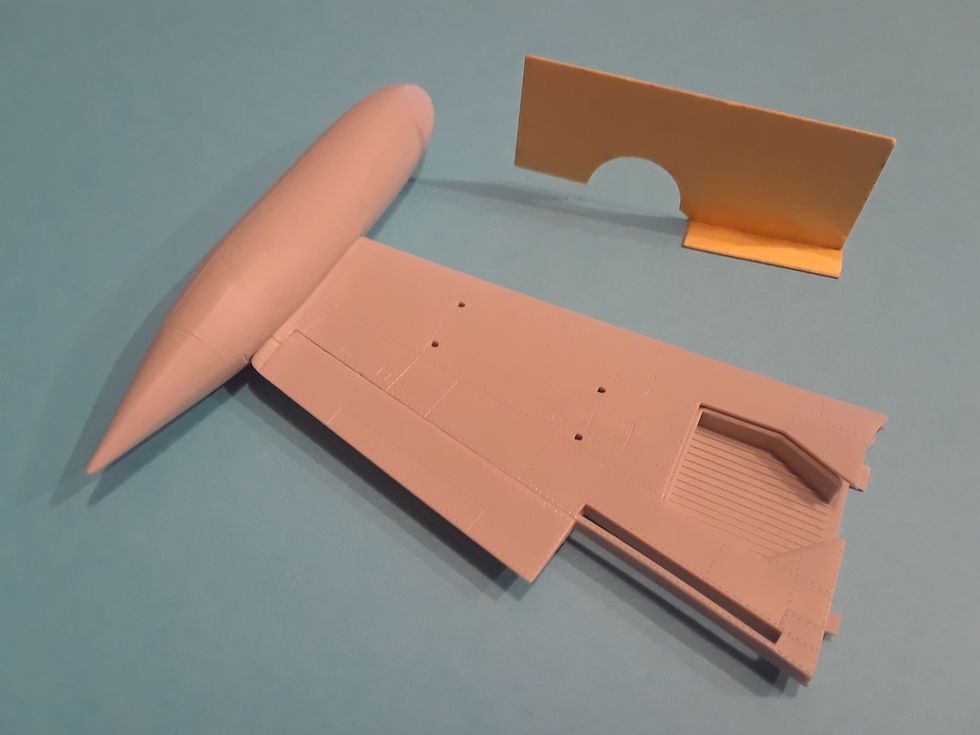
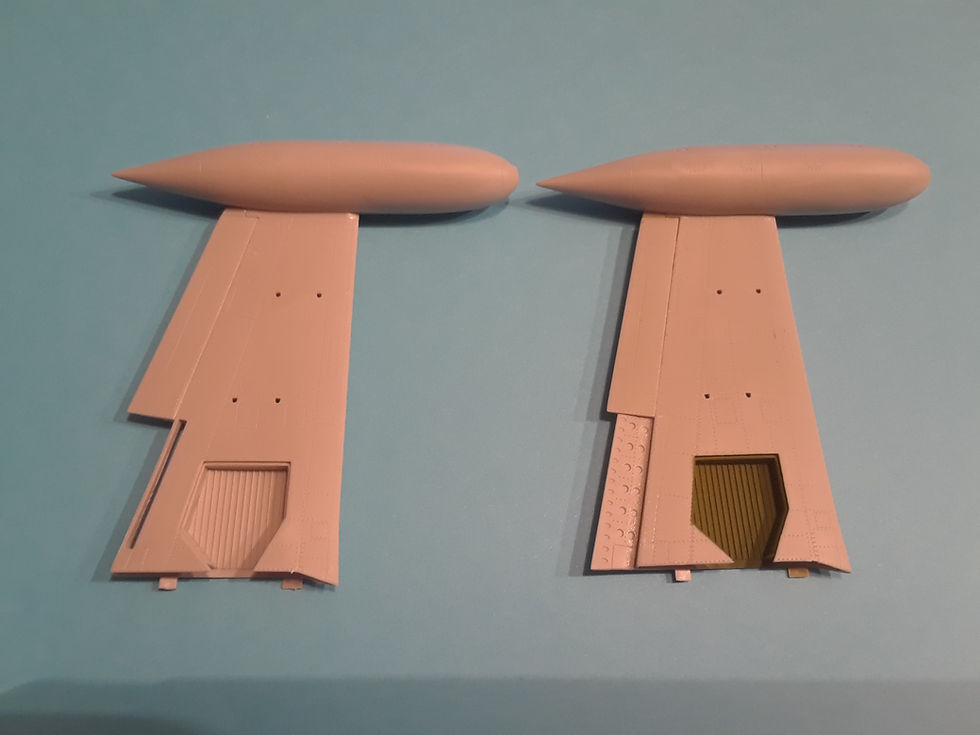
NOTE: The smaller outer flap is glued flush to the top of the outer wing.
Quick fix and makes for a more accurate Banshee model.


Comments